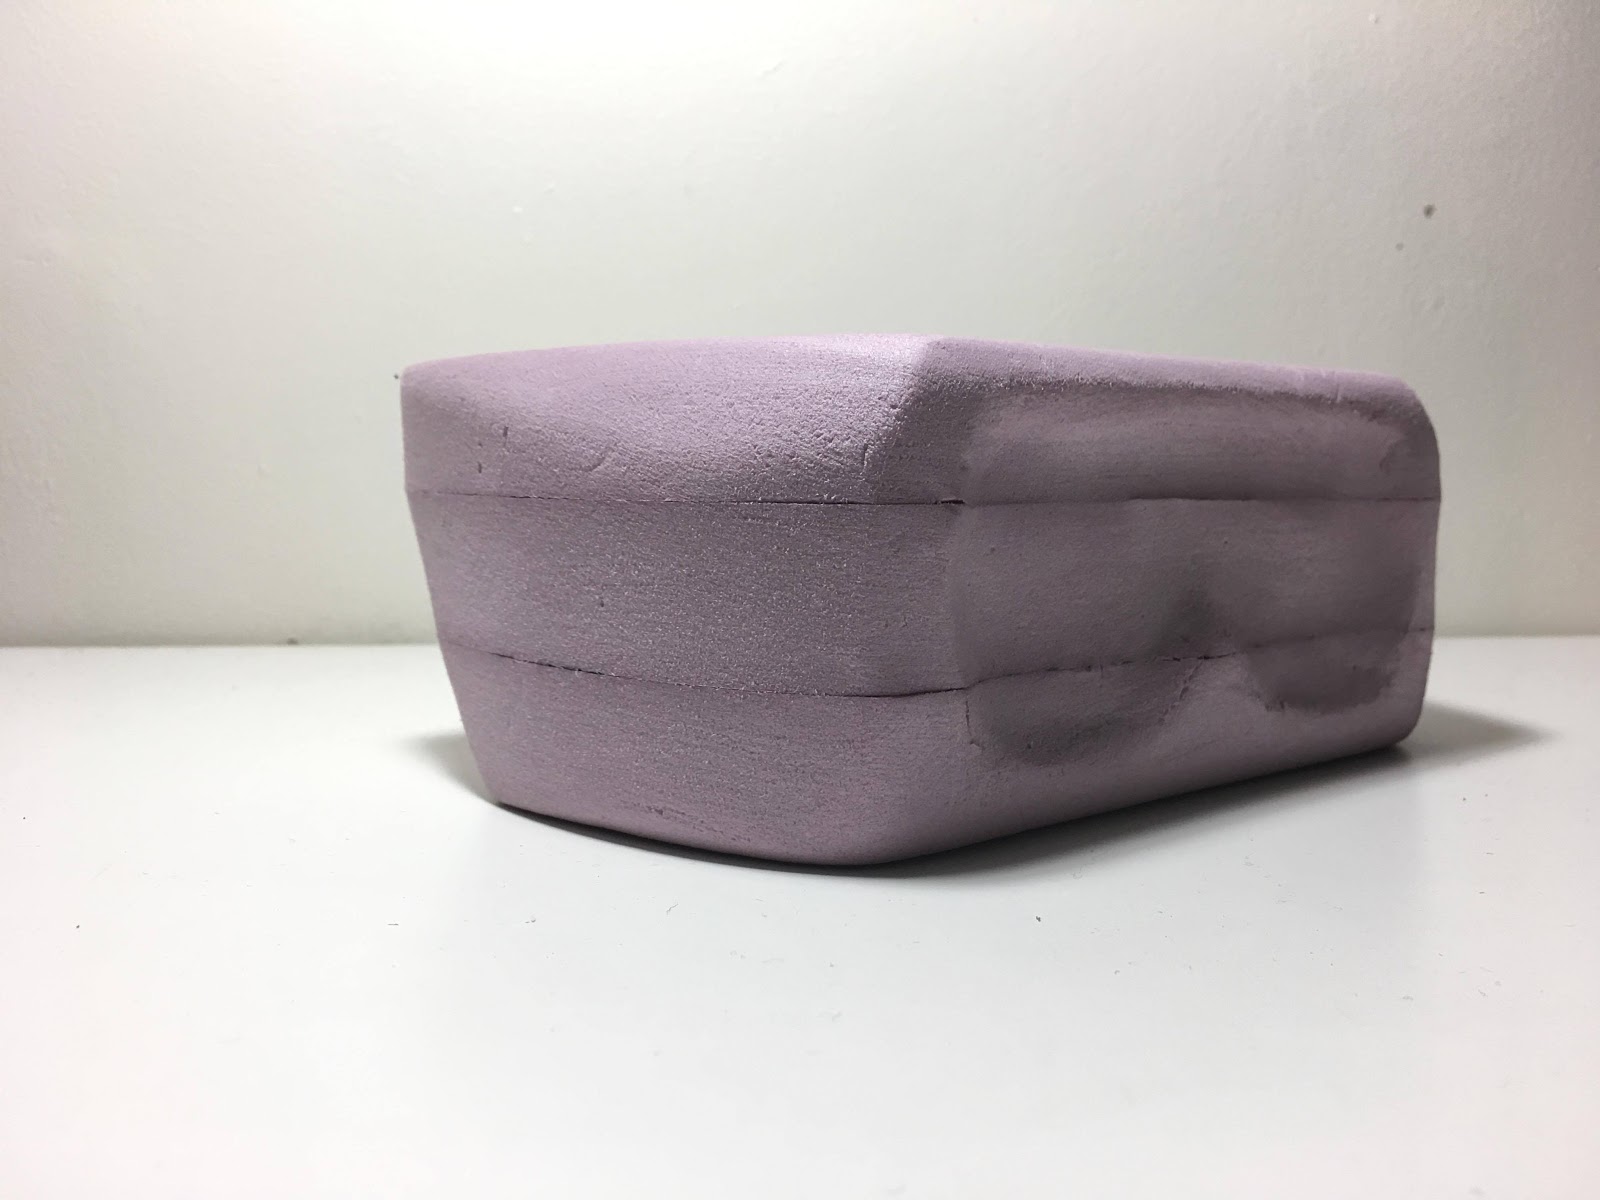
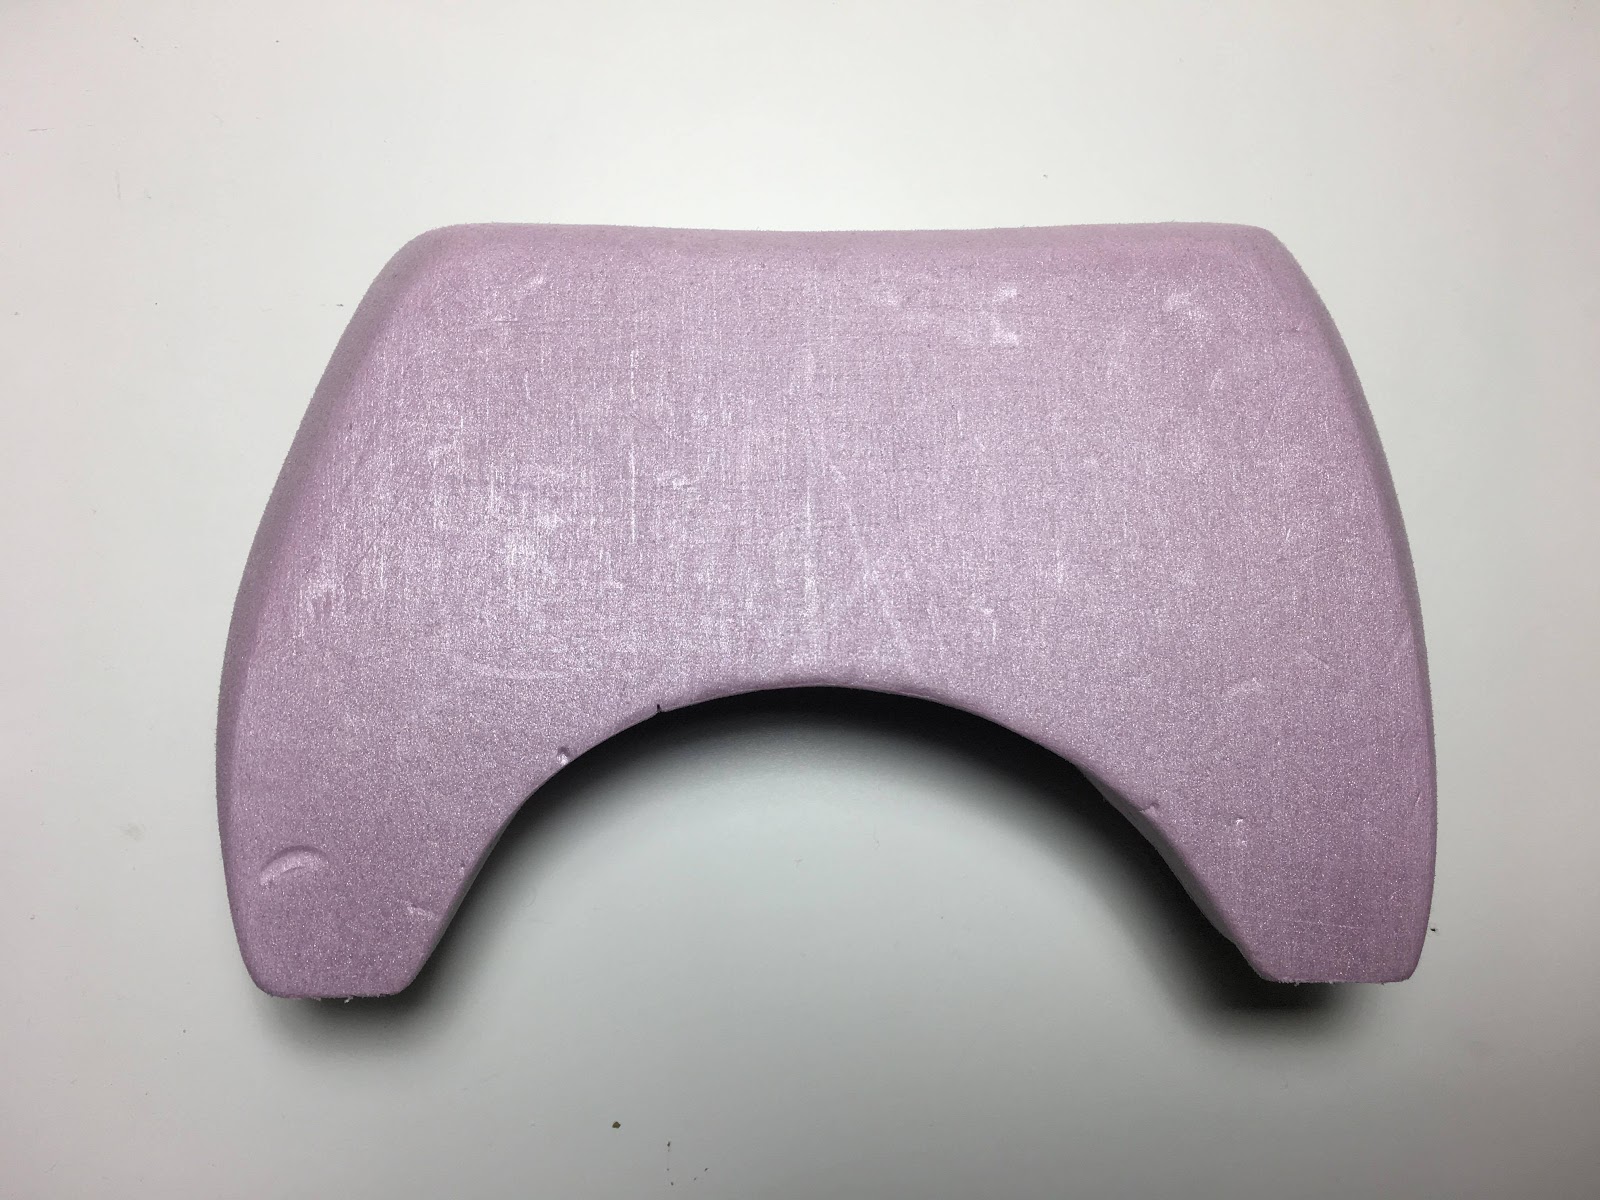
The front view of the foam mock-up.The top view of the foam mock-up.
This week we made a prototype model out of foam to get a very rough idea of the overall shape and form of our VR Headset.The foam model was the exact size and almost the exact shape we wanted our headset to resemble. But due to poor detailing that the foam cannot possess, some features like the front of the headset appeared very “tacky” and not accurate enough to our liking. During the end of our crit session, our whole team concluded that the front of the headset was indeed tacky and unprofessional; it also appeared very bulky on all sides which were not our intention. Because our VR Headset is used for medical training purposes, we decided it needed to be a lot more slender and sleek. Thus we decided to shave down all sides of the foam model and remove the tacky front face of the headset as a whole.
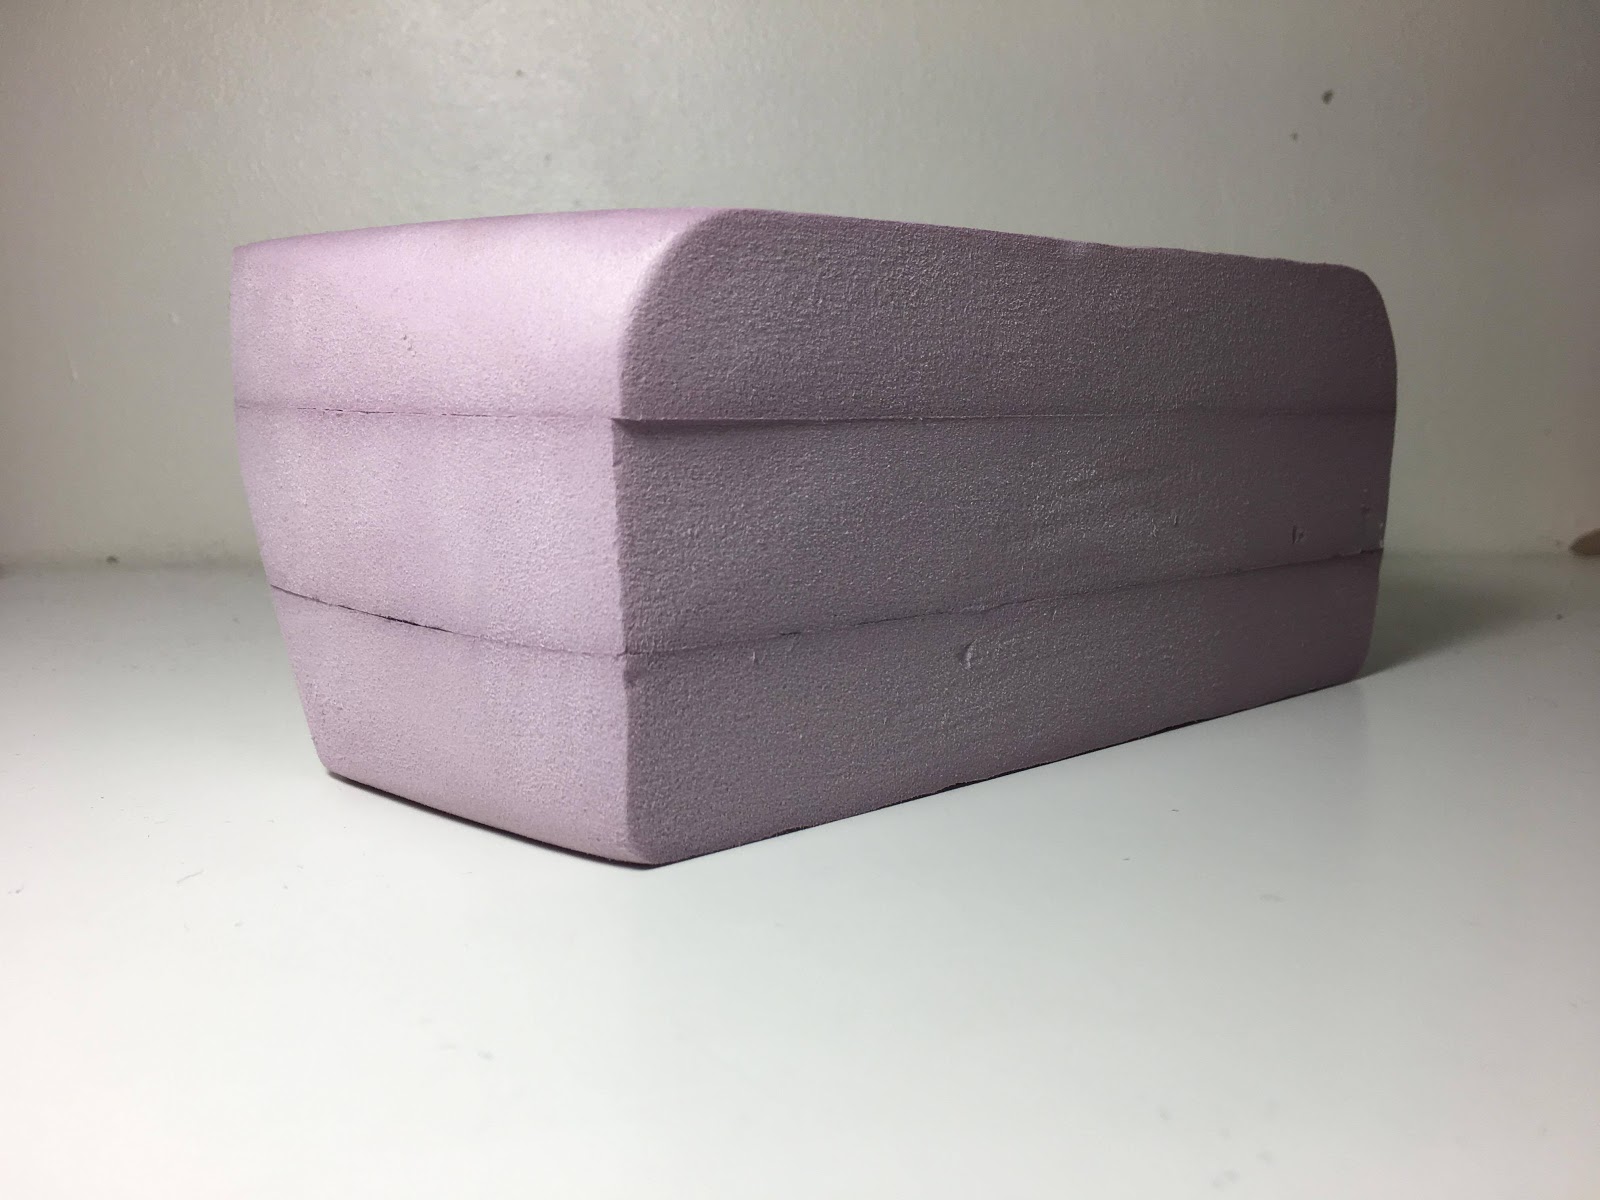
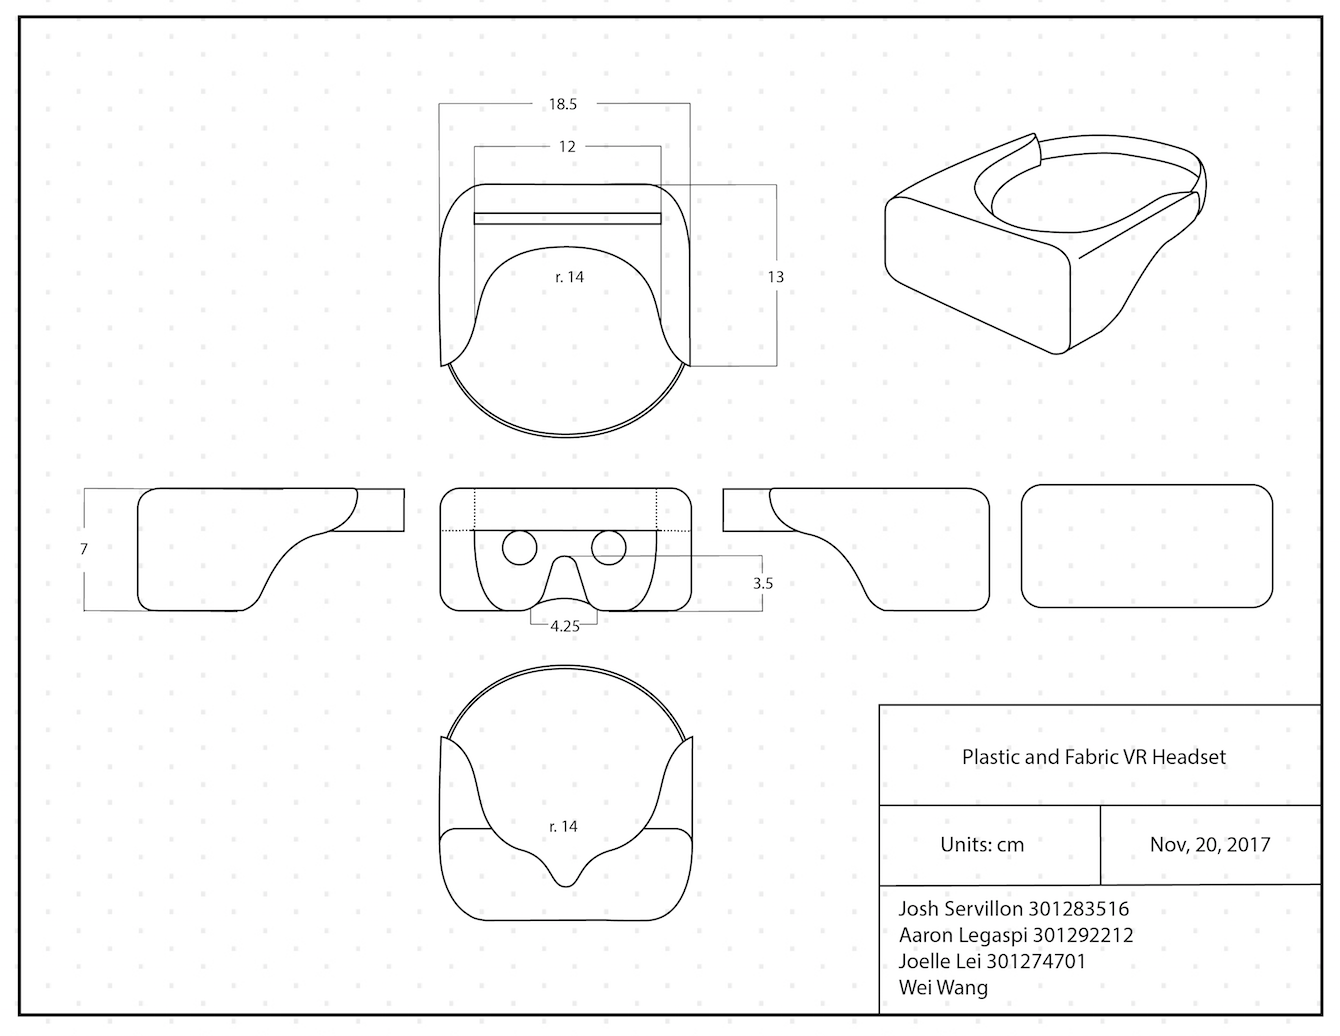
The foam mock-up after the front is reduced to a better form.Rough blueprint of the model with dimensions.
Vacuum Forming
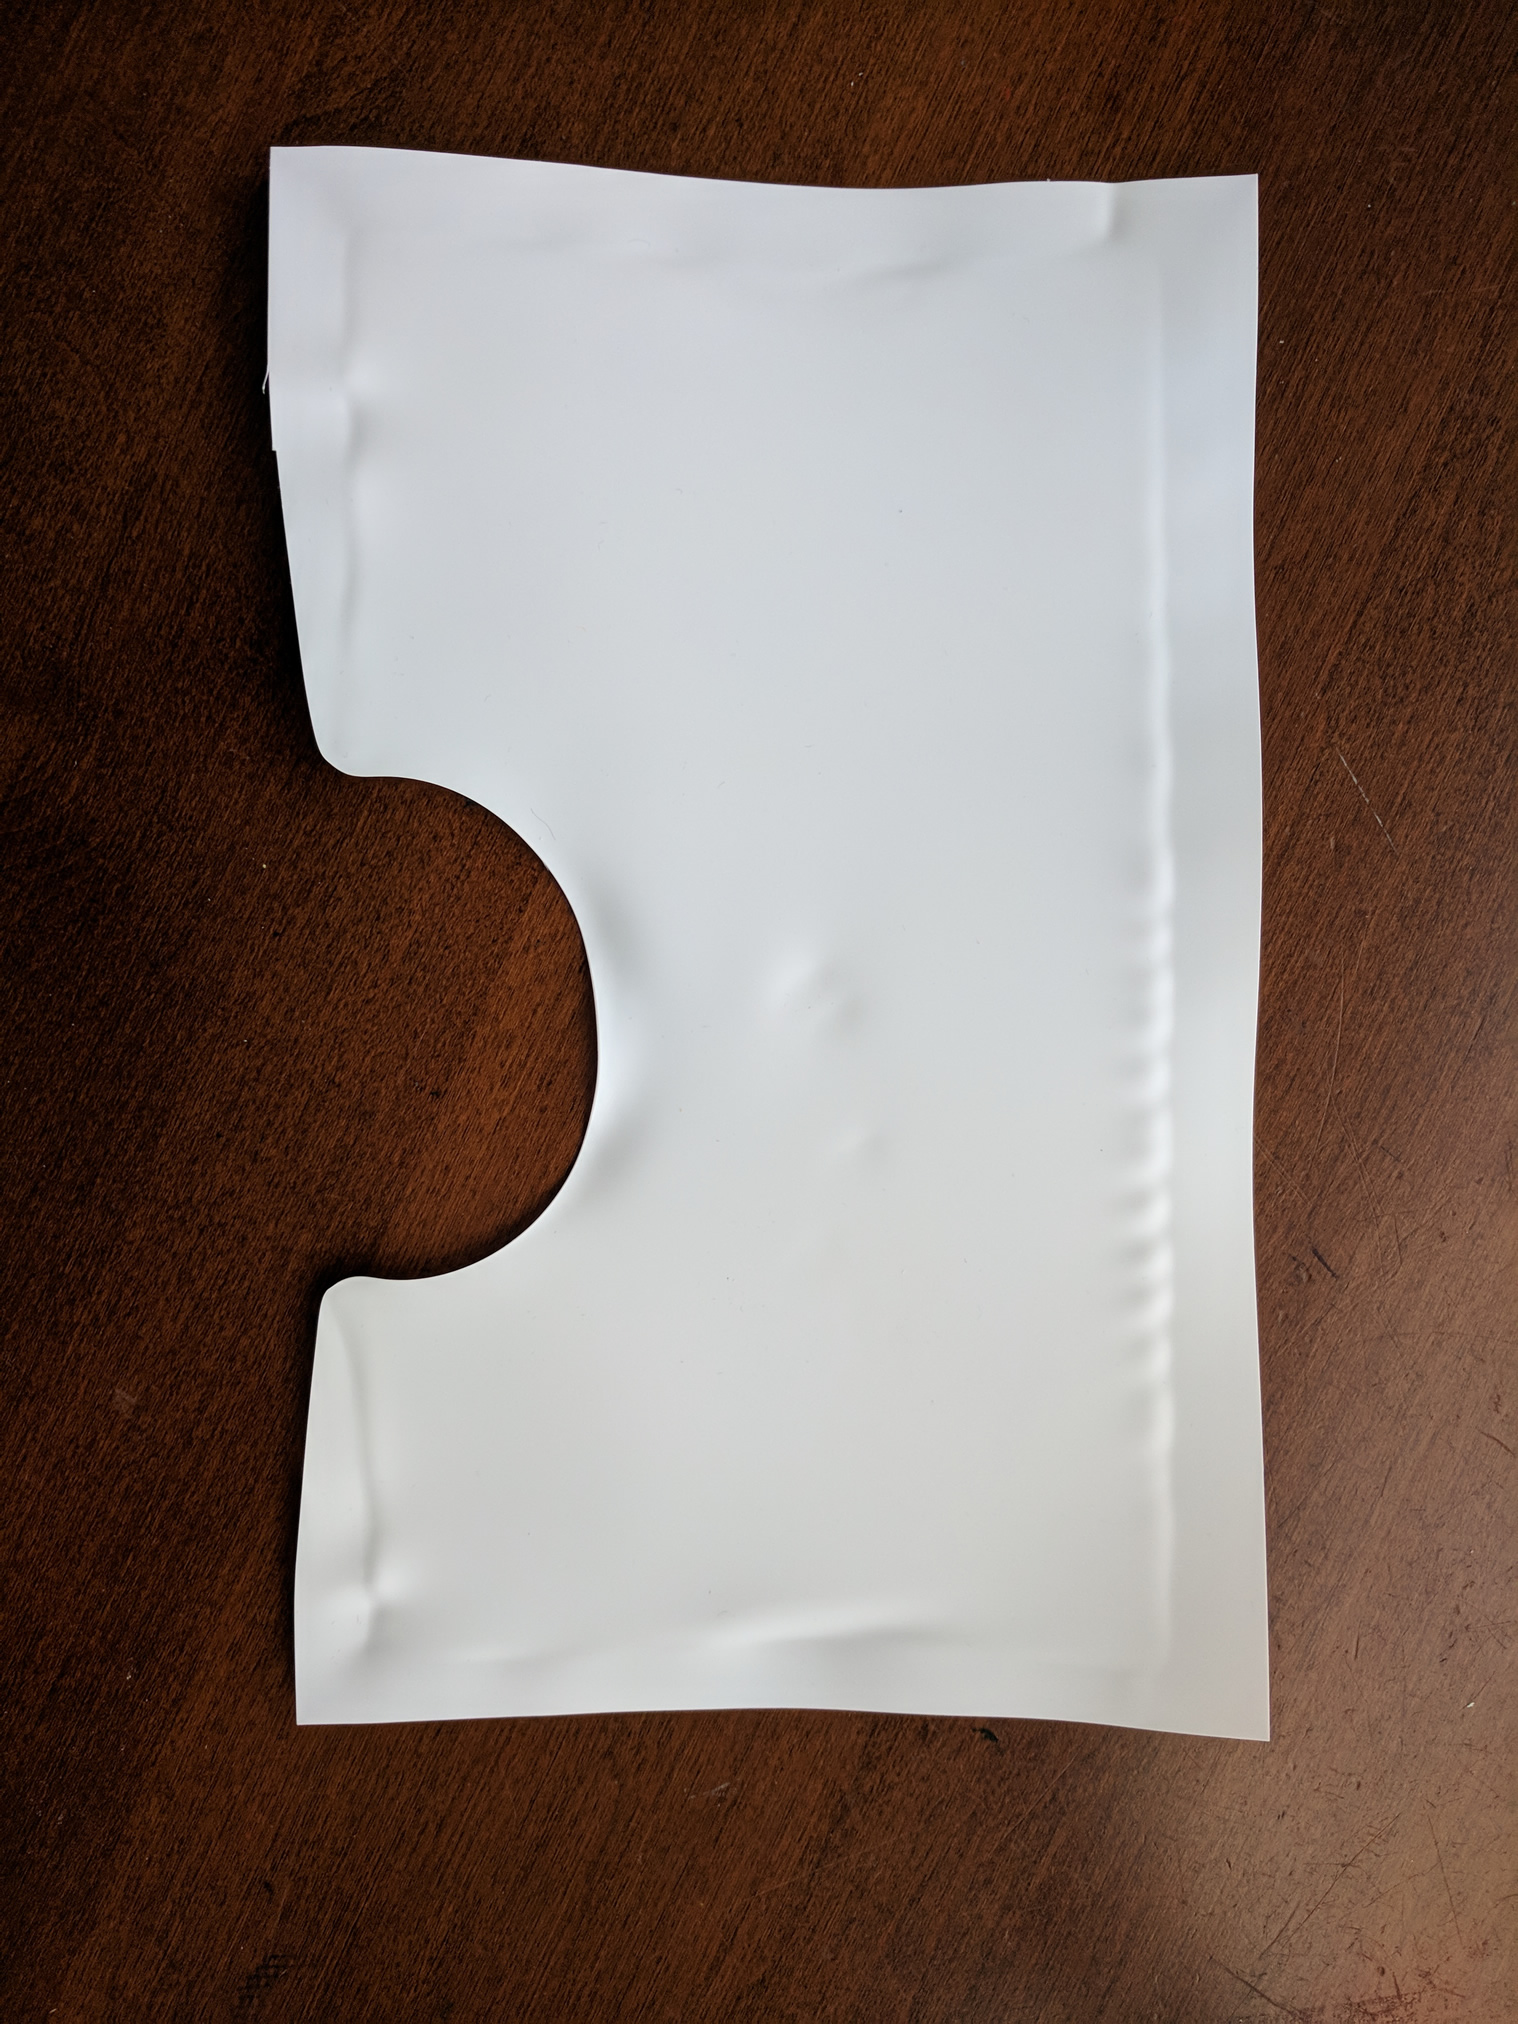
A side view of the vacuum formed thick polystyrene.A top view of the vacuum formed thick polystyrene.
Late we tried vacuum forming again after a discussion with Prof. Ken. We became more aware of our faults during the first trial of vacuum forming and decided to try again with the school’s larger and more powerful machine. The final product for this second trial left us with a much better result than our first trial, but it still was not what we were hoping for. The result was a headset with awkward “hole marks” in the styrene, as well as harsh and sharp edges at the bottom of the headset if we were to remove it.
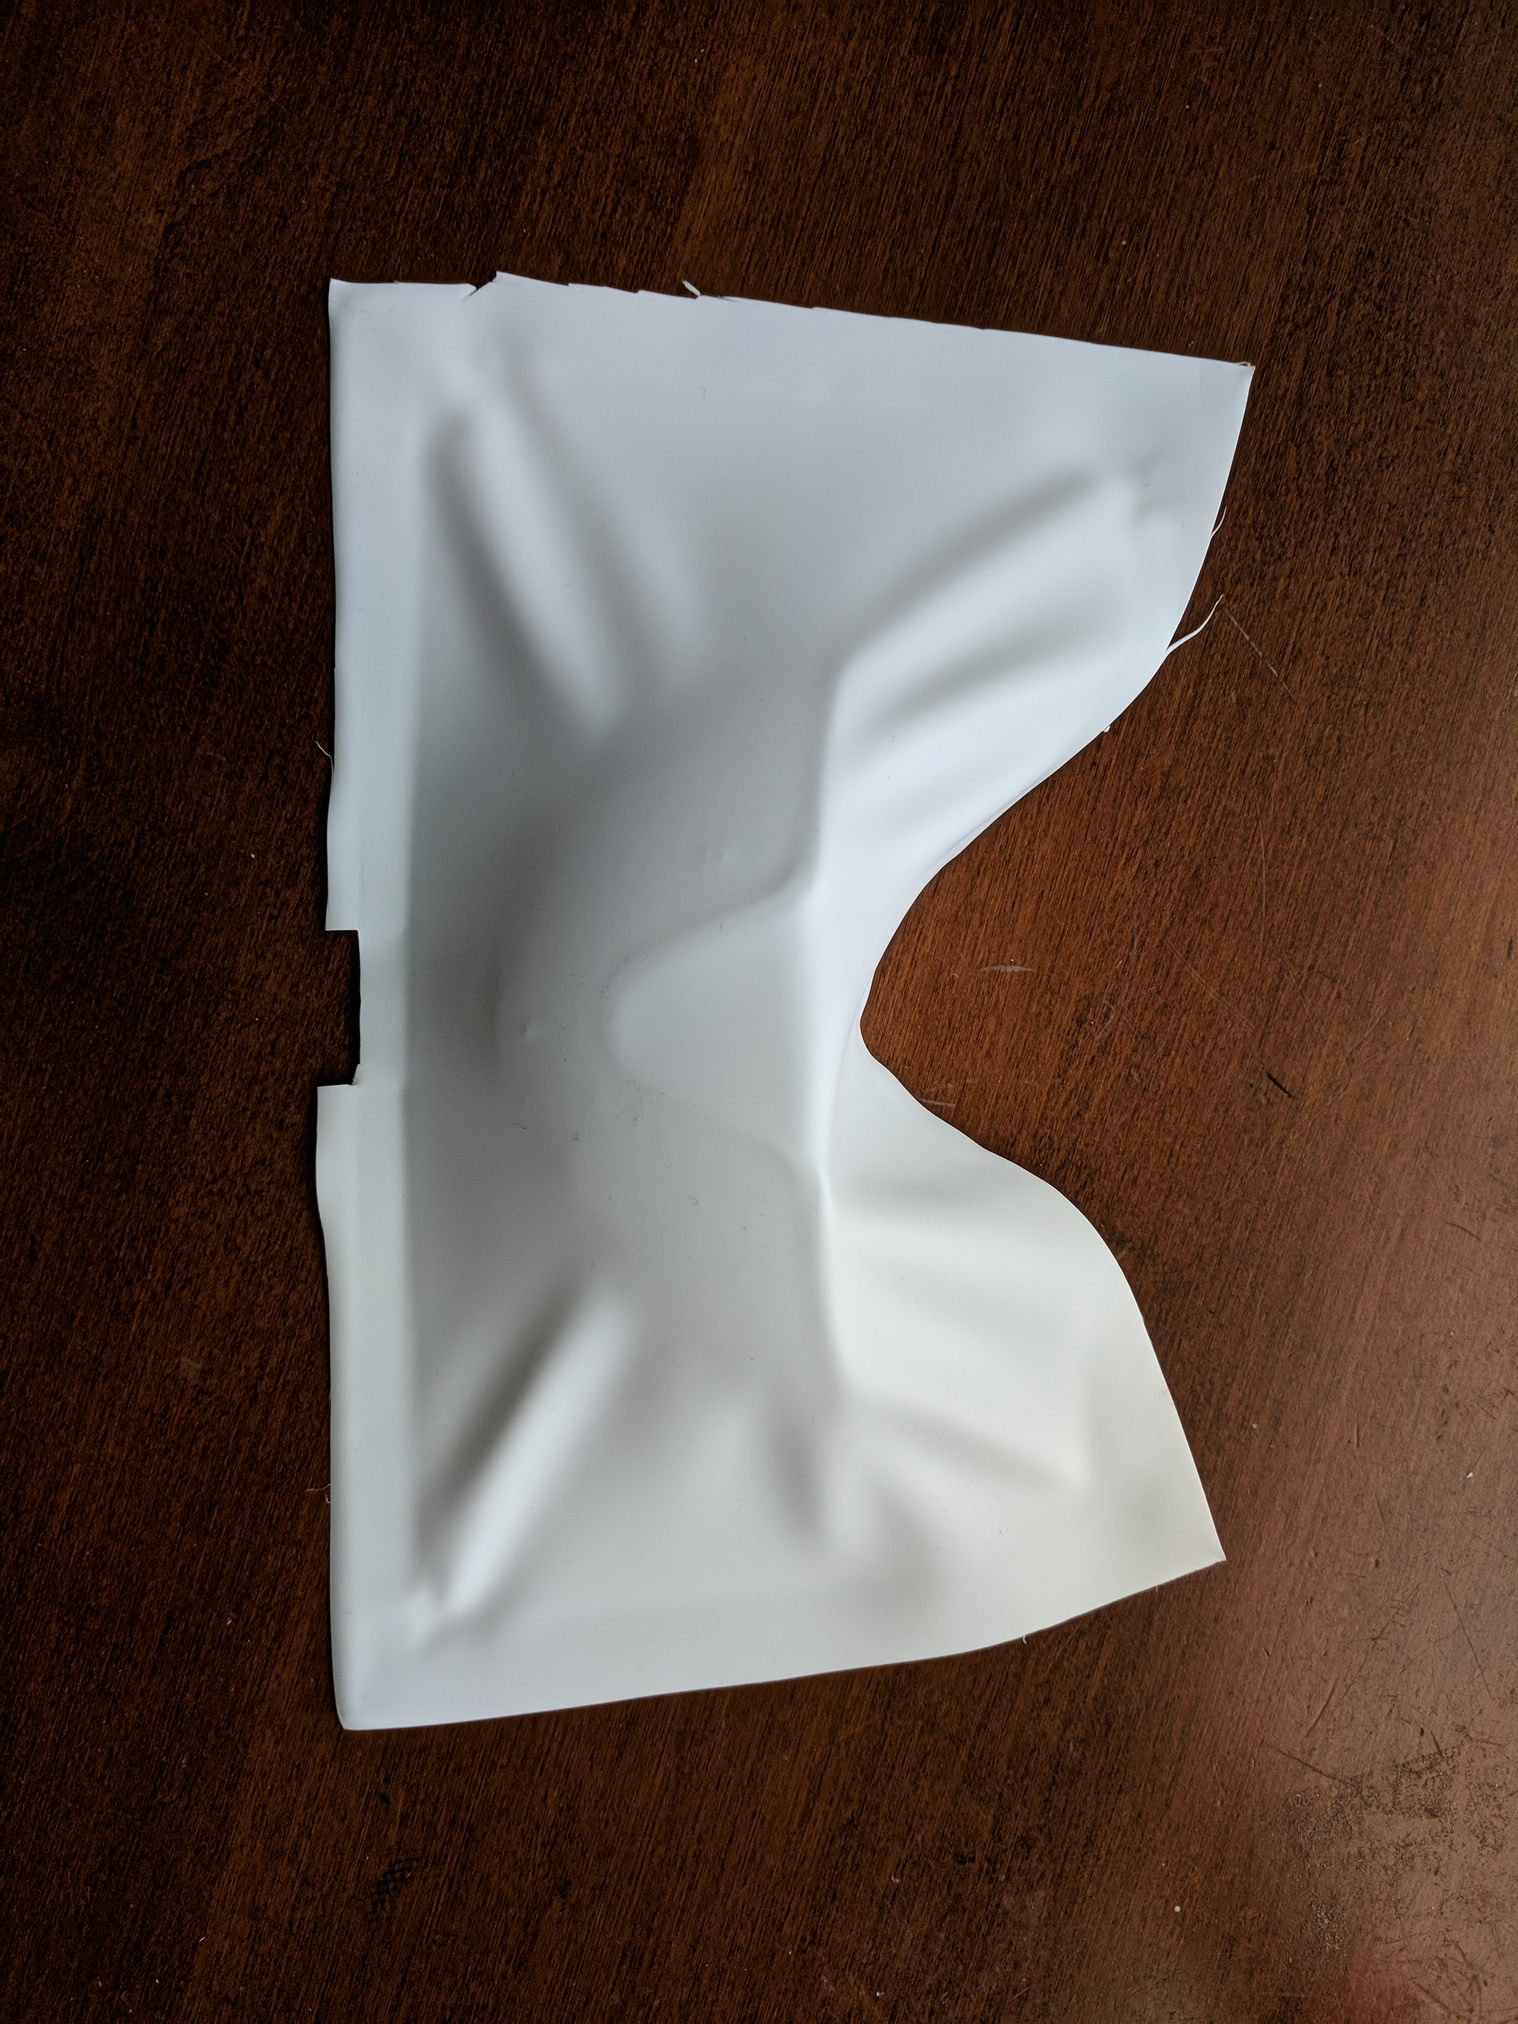
A bottom view of the vacuum formed thick polystyrene with original form still inside.
Further effort is made for the animatics. Few issues are spotted during the process. First, the rendering performance is quite low and it is difficult to get real-time feedback from the render. With the relative large model, over 100 MB, the rendering with MentalRay can easily consume all the video memory and force to use CPU render due to lack of resources. Maya 2017 keeps crashing with over 20 GB main memory and 1 GB swap memory assigned. It seems the integrity of Maya 2017 is tested and it is less stable than 2016 version. Eventually, we managed to obtain a video clip rendered with Maya 2016 with less quality.
Second, there are some contradictions within the scene. The story was planned during a late night in a remote village. However, the lighting seems less consistent during the render which should be improved in the future. Also, scene happened during the night is generally more difficult to manage since it must be dark while the characters must still be shown.
Third, quality control becomes an issue later on. We had some great ideas and storyboard but to convert them to 3D animation is challenging. Maya is a complicated software and a lot of techniques are unknown to us. It may be better to restrict the project to more specific and practical approach rather than simply hoping to achieve all. Say an example can apply the sound effect to an existing animation. Or create photo realistic scene of a surrounding area. Essentially, when quality is too low for a project, students may not gain much from it even the project trying to cover everything.
Since our assigned materials are plastic and fabric, we experimented vacuum forming with styrene to explore the potential of this technique.
Vacuum forming is a simplified version of thermoforming, where a sheet of plastic is heated to a forming temperature, stretched onto a single-surface mold, and forced against the mold by a vacuum. This process can be used to form plastic into permanent objects such as turnpike signs and protective covers. Normally draft angles are present in the design of the mold (a recommended minimum of 3°) to ease removal of the formed plastic part from the mold. Wikipedia
Vacuum Forming
Vacuum Table
Although SFU does have a professional vacuum forming machine like the one above, we do want experiment our own tool, especially for the initial mock-up. A wooden vacuum table is quickly made with help of our own CNC and table saw and updated few times to improve the results. Vacuum is created by common household vacuum cleaner which has large vacuum air flow but poor max vacuum pressure, i.e. not suitable for this application. The heat source is a common household oven. It turns out that the food made by the same oven is sweeter after the operation somehow 🙂
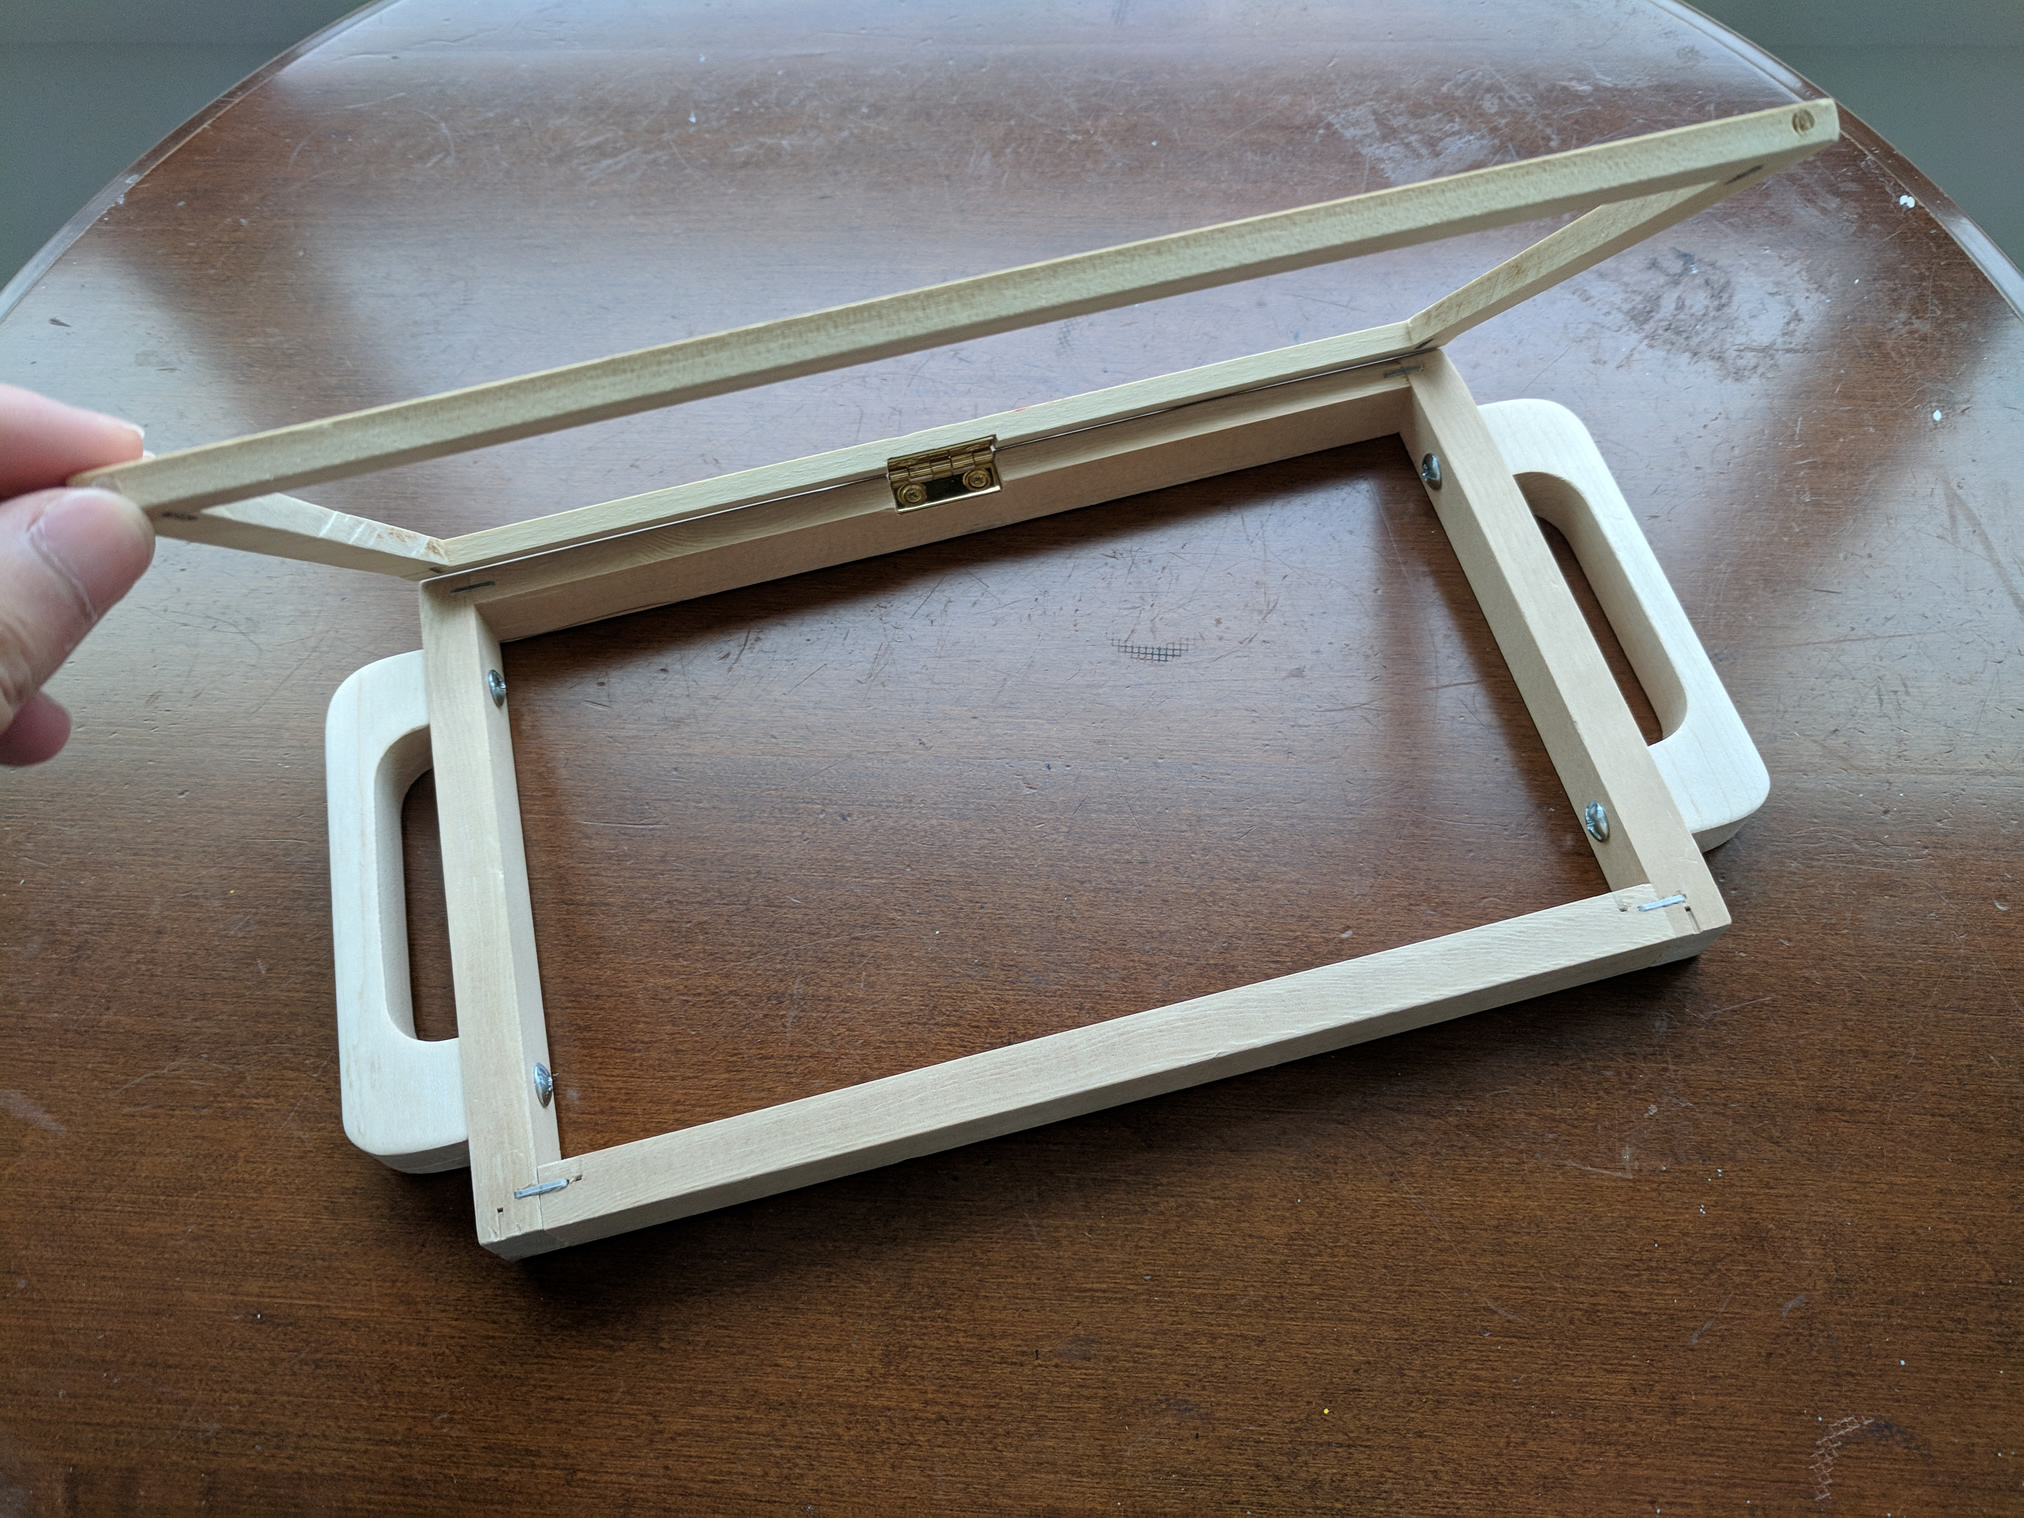
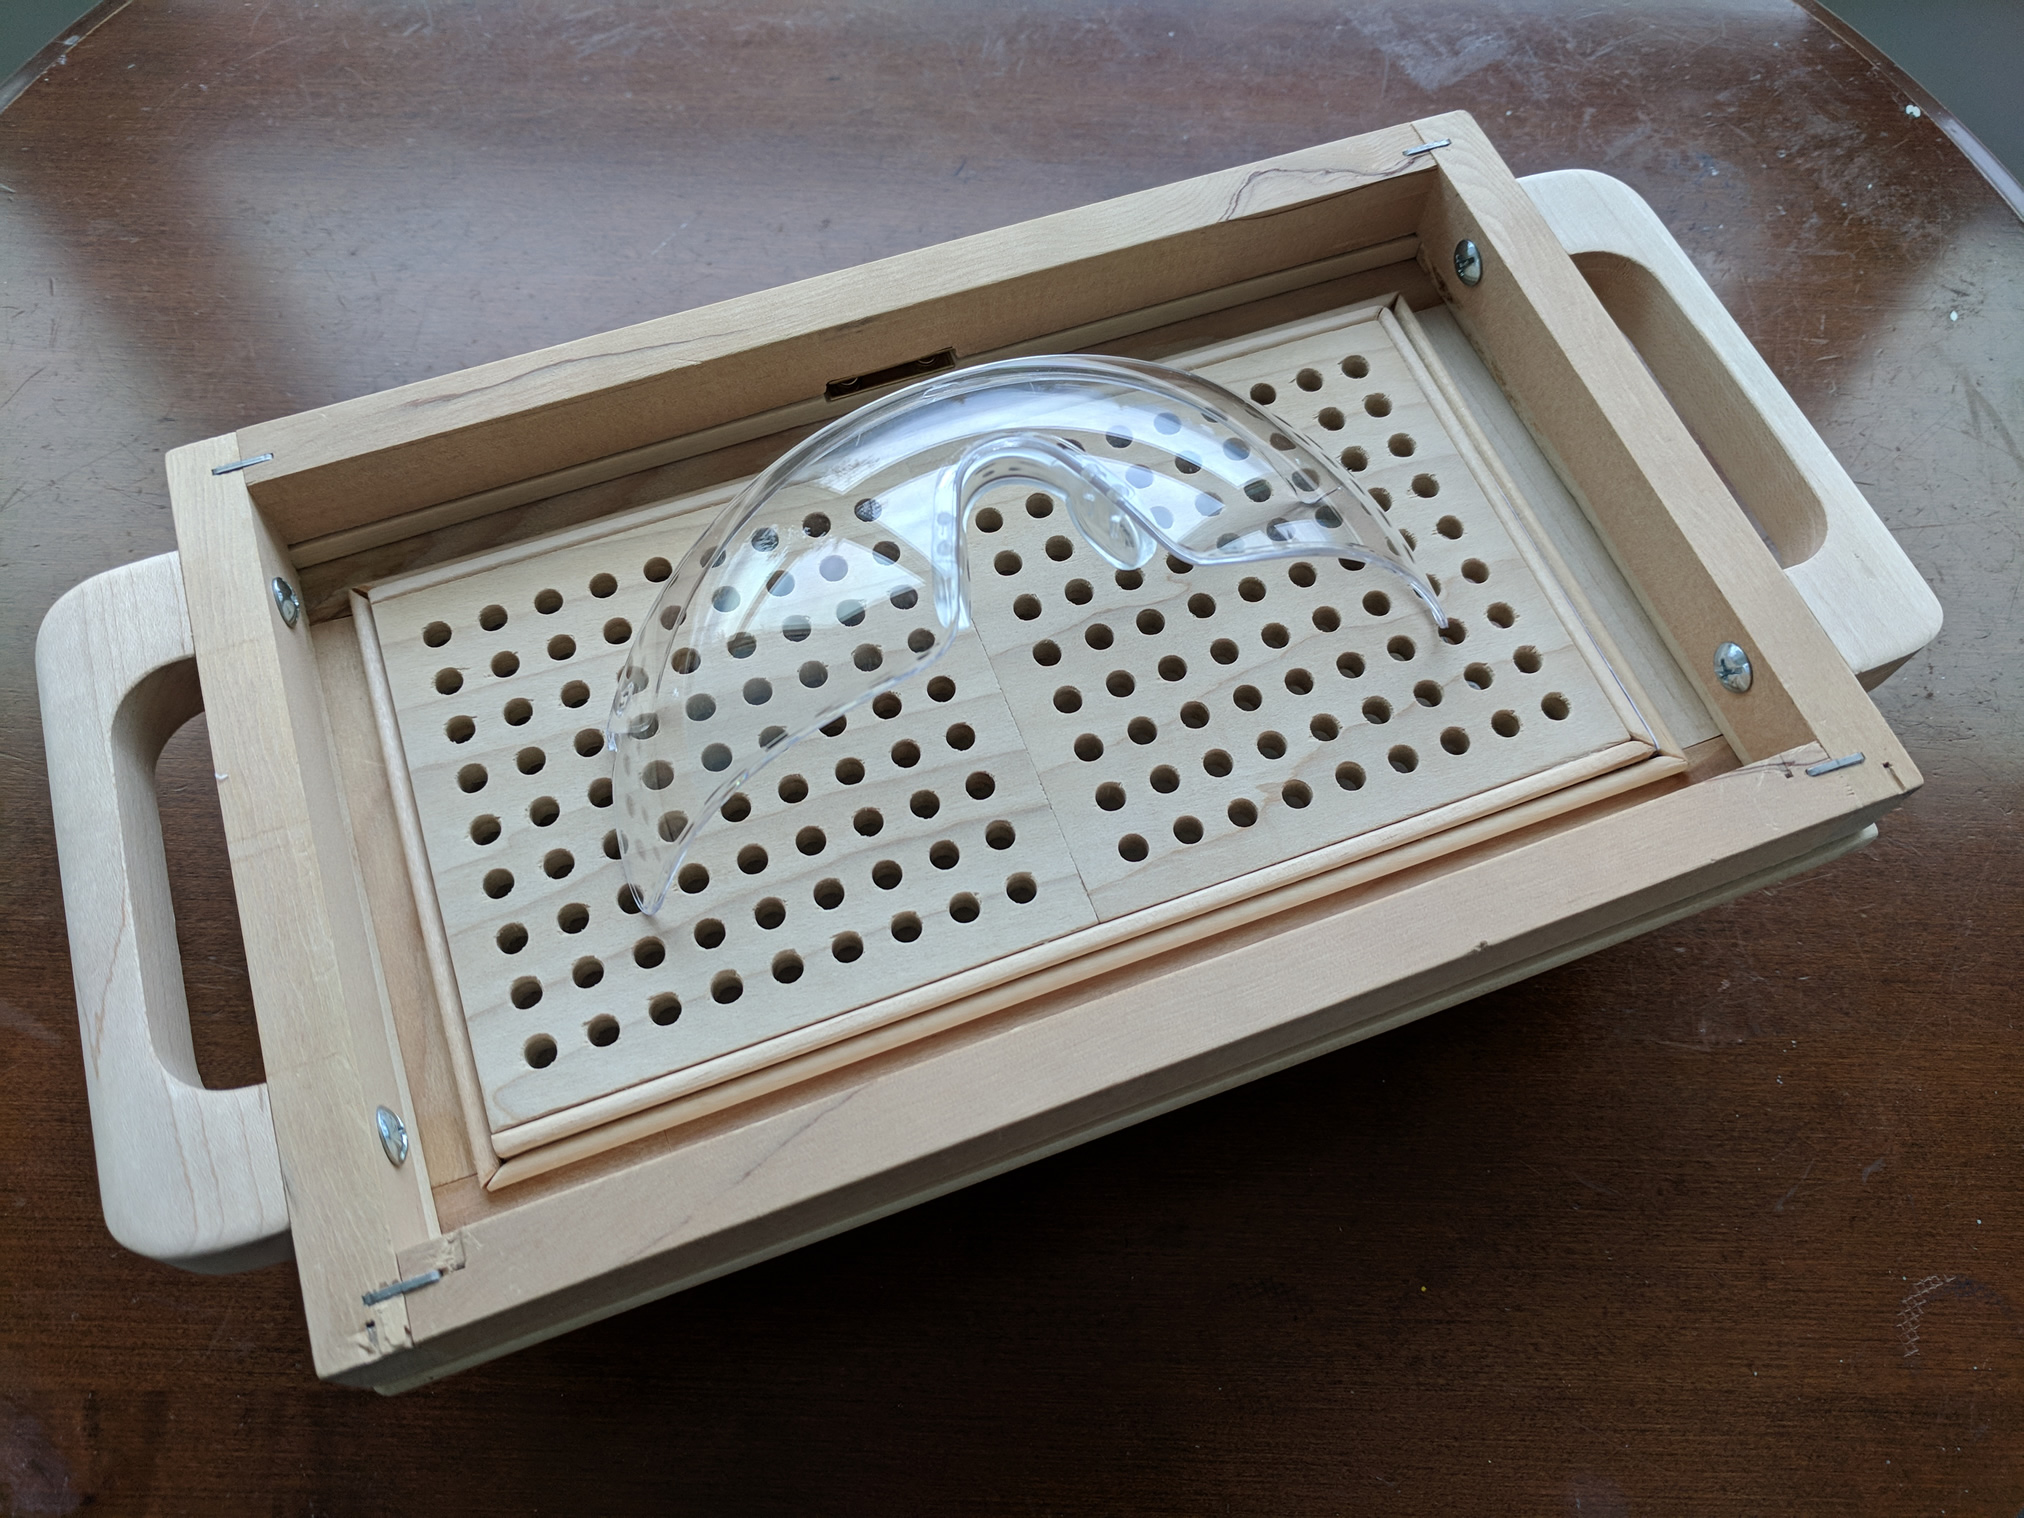
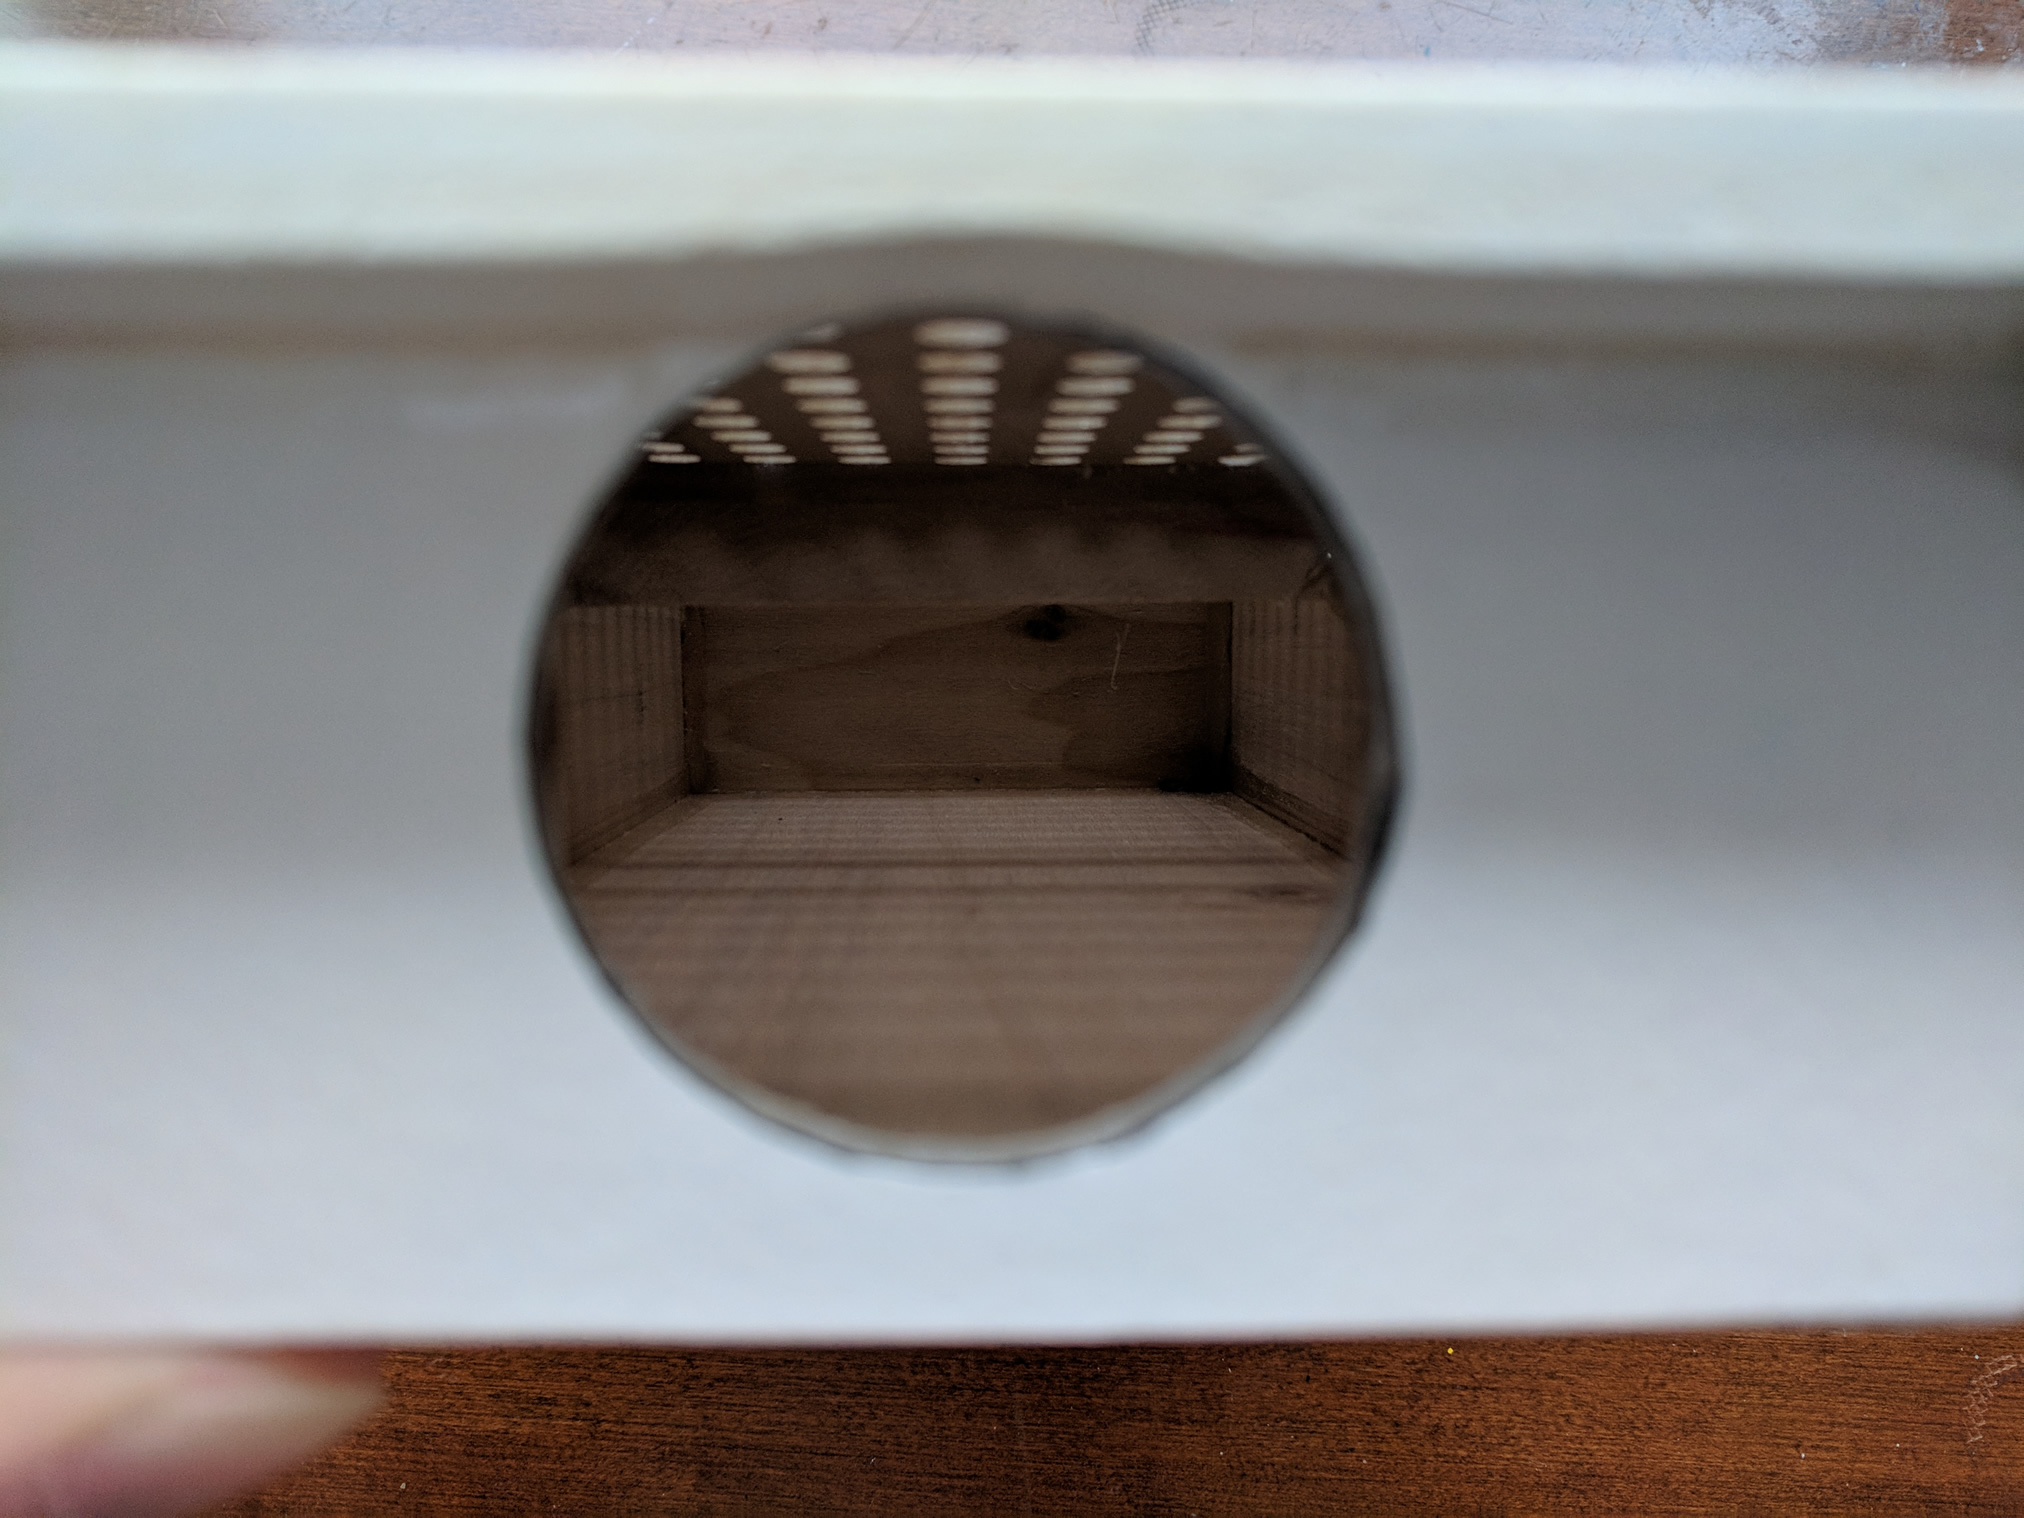
The final version of the vacuum table with holes on top to suck the air and large surface around the edges for better contact.Frame to hold plastic sheet with the handle to help to press the model when forming.Assembly of the table and frame with a glasses model on top.Inside of the vacuum table through vacuum cleaner hole with reinforcement beam.Special notch for quick alignment of the table and the frame since the operation must be done quickly when the material is still hot.
Few experiences are gain during the construction. First, styrene has certain property change during the operation. Styrene is heated to 250 degree where the wood will not be burnt and the temperature is way enough for styrene. When it is heated, the surface will become folded and shrinking, continue the heat, the surface will be melted, expanding, dropping, and smooth. At this point, continue heating with the same temperature for few minutes should make the styrene ready for forming.
Second, the contact between the frame and the table must be good. It is the key to have a better suction during forming. If only rely on the soften styrene sheet to cover all the vacuum holes is not practical unless the sheet is much larger than the table and heated much softer.
Third, the styrene sheet must be fixed with the frame. Heat will distort the surface of the sheet and create tension. If the sheet is not properly secured, the styrene will actually melt rather than become soft and dropping. Large holes will be created on the sheet in that case.
Lastly, the operation must be done quickly since styrene will become solid once out of the heat. Additional heat can be applied to the table with a heat gun to soften the material and help the vacuum process or reduce wrinkles.
(Failed) Results
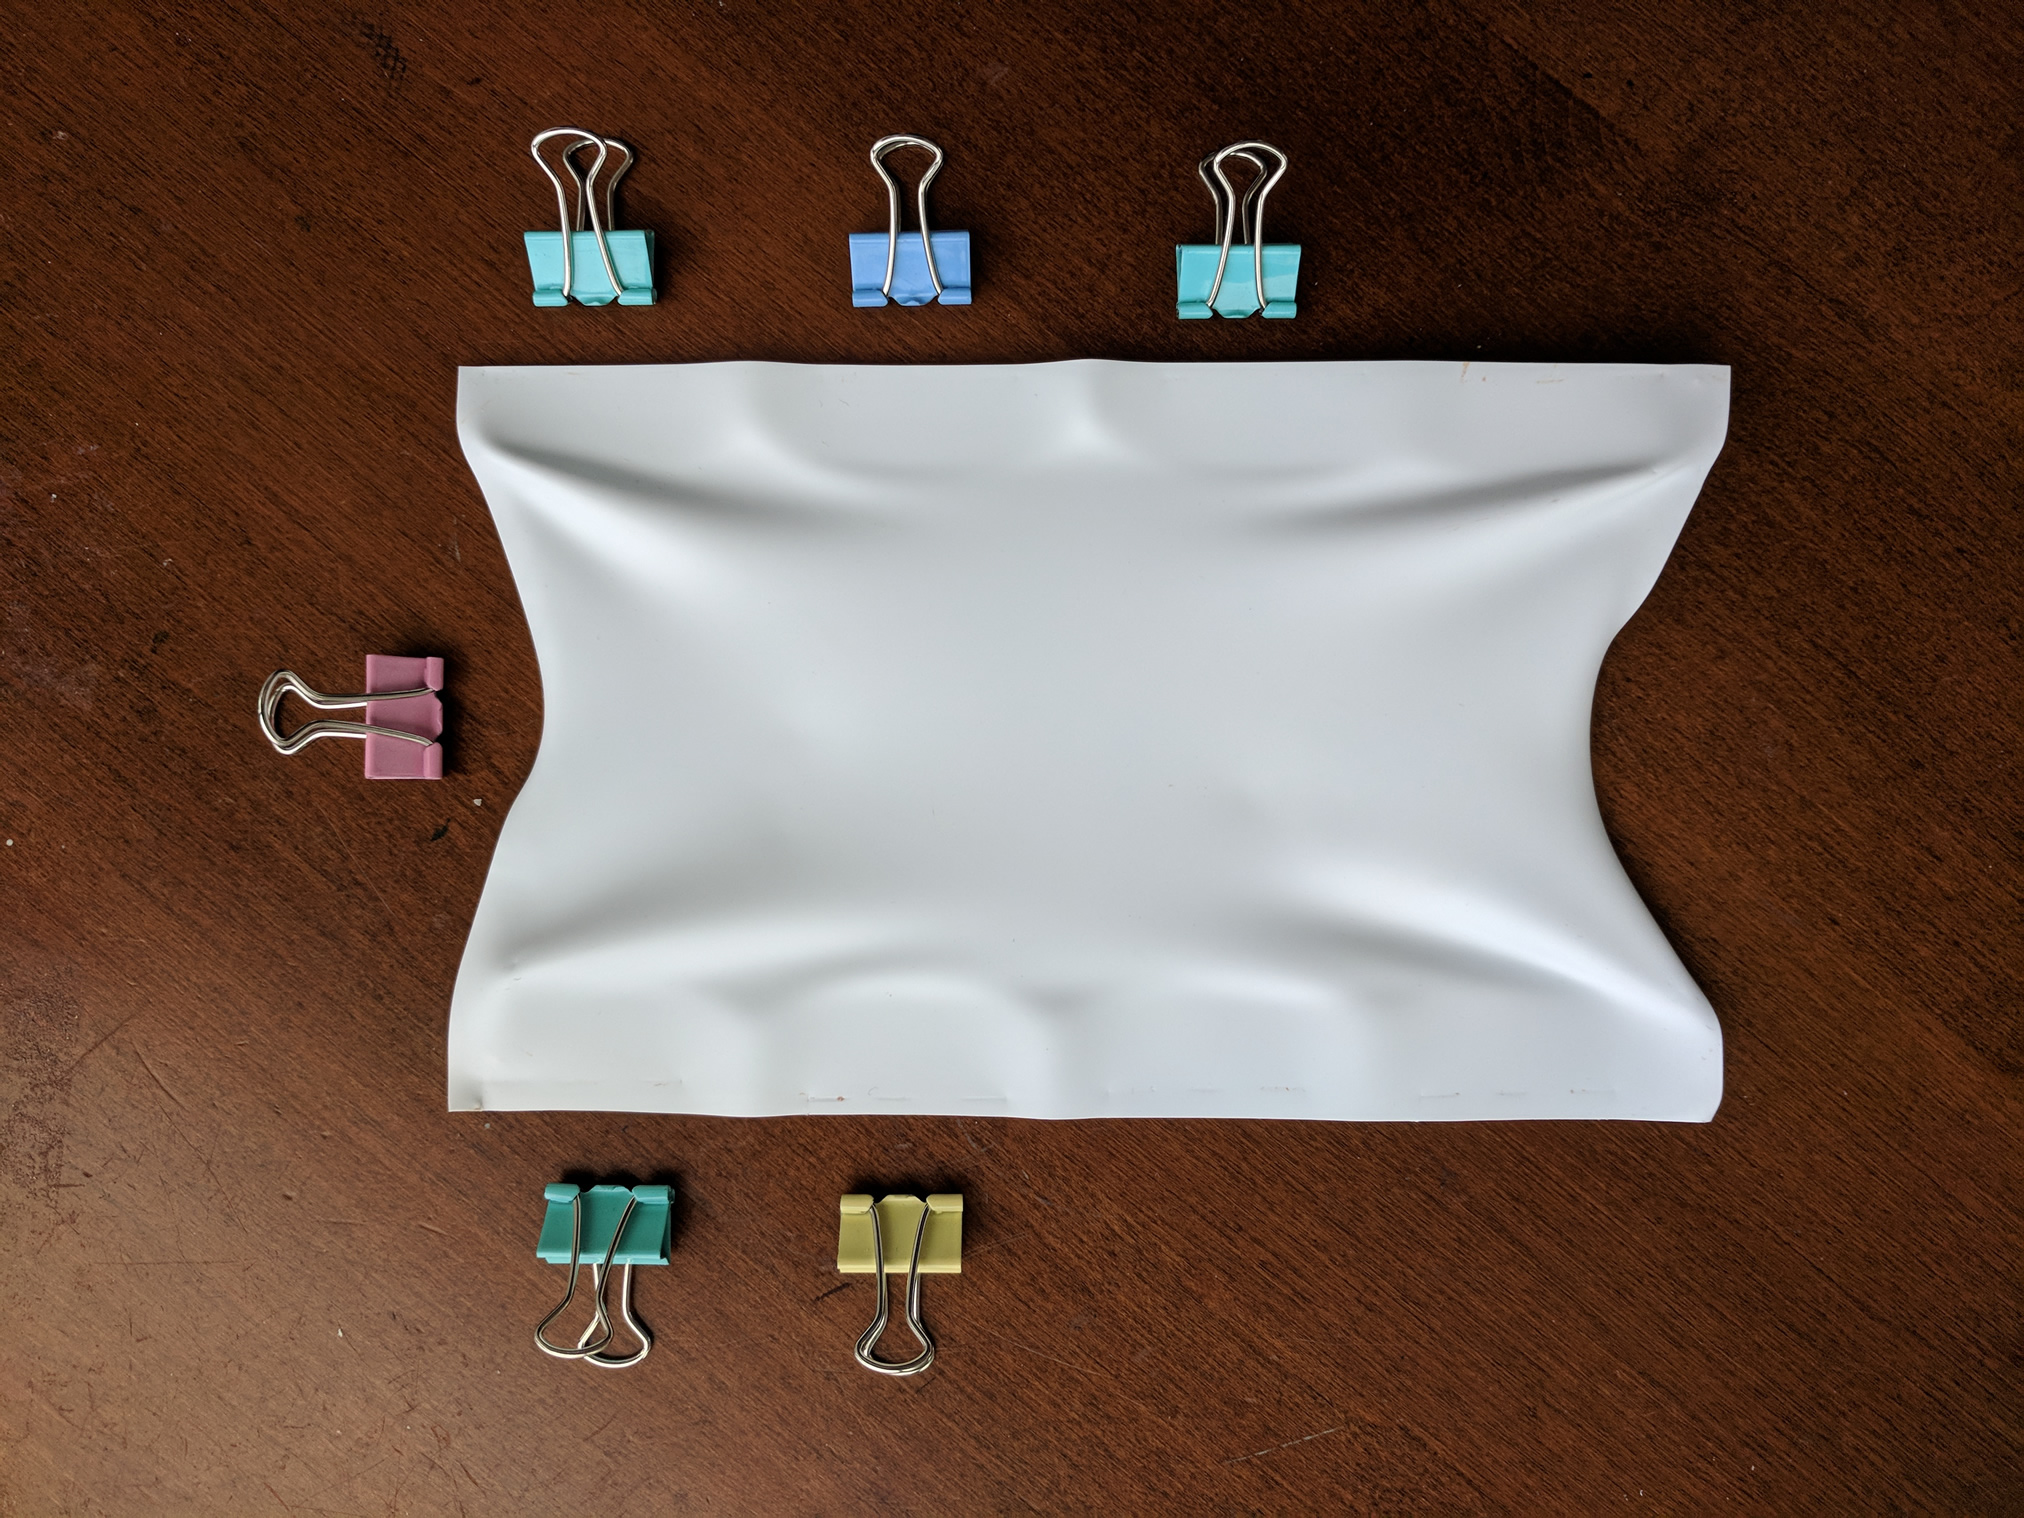
The first failed attempt due to the clamping of the sheet on the frame.
The first attempt is done very quick hoping a mock-up can be generated easily. However, it failed quickly too due to the clamping is not done by two frames sandwiches the sheet but by the fast clamp shoed above. The wrinkles clearly indicate the clamping failed to hold the sheet during the heat.
The second failed attempt due to the notch area not clamped properly.
The second attempt is done with two frames sandwiches the sheet, still with the help of the fast clamp from the first attempt. The edge is much cleaner this time. However, to avoid the alignment notch, no clamp is applied to that area and a giant hole is created during the heat.
The third failed attempt due to the model is too tall for vacuum.
The third attempt is with two frames and one hinge near the alignment notch. The hinge is adjusted to be very tight so the clamping force near the area is ensured. Also, a narrow cut is done to the hinge area to extend the material for better clamping. The heating is much more successful this time. However, the glasses model is too tall for the process which pulls the sheet off the frame eventually.
Next Step
A week already passed by making all these tools which proved not that successful. However, vacuum forming seems promising for the project. We will be moving to the professional school machine for next model and the main remaining work is making the model, the one on the vacuum table, out of heat resistant materials.
The painting project made some progress recently. It now supports linear keyframe interpolation on iteration, octave, layer, and model. The video clip can relatively transit from one style to another. However, temporal coherence is still an issue to be solved. The entire creative team gathered recently which lead to another deeper solution potentially to help all the existing issues.
Deep Dream Basics
The essential idea how deep dream apply the style to the image is quite simple. The algorithm run over an image array and generate RGB delta of each pixel based on the original value. Then, this value is recursively enhanced by apply same technique again and again. Essentially, the out equals to original pixel value plus deep dream delta.
Different iteration applies texture recursively on the same image.
Image Blending Issue
Based on above information, instead of using alpha blending on two generated images, which can lead to significant “ghost” artifacts, we can simple dream on different style with various iterations. For example, instead of alpha blend two images from style A, 70% alpha, 10 iterations to B, 30% alpha, 10 iterations, we can simply apply A style iteration 7 times, then B style iteration 3 times recursively on the same image.
The only issue about this new method is the order of the iterations. They can be mixed ABABA, BAAAA or BBBAA, AAAAA or AAAAA, AABBB. The results from these methods will be different. An evaluation of the results will be required after the code is done.
Temporal Coherence
This issue has already been addressed again and again. Previously, by using optical flow to direct the dreaming is regarded to be one of the best solutions. However, detailed implementation is unknown. Now, we can finally apply the vector results from the optical flow to the deep dream delta result to redirect the result.
One concern is we still want the dream progress based on time. For example, if a sun moving from left to right, the expected results say a flam texture is gradually evolving while the sun is moving instead of a fixed texture on the location where the sun is. In that way, one evaluation must be done to test will slight different from the source image make a huge change for the final dreamed result. Only if it is negative, we might further utilize the optical flow method mentioned.
AI Avatar Meeting
I also attended the other meeting about an AI avatar program, an immersive talk bot. Few challenges are addressed there including:
Implementing more XML command to adjust talking environment light, avatar body movement etc.
Build a queue system to handle multiple gestures if they overlap together
Research potential solution move the project to Unity
In the future, I may also help out the team to do some programming about above issues.
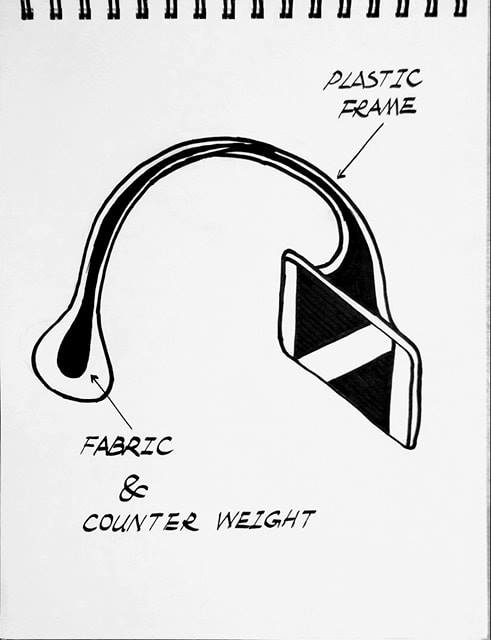
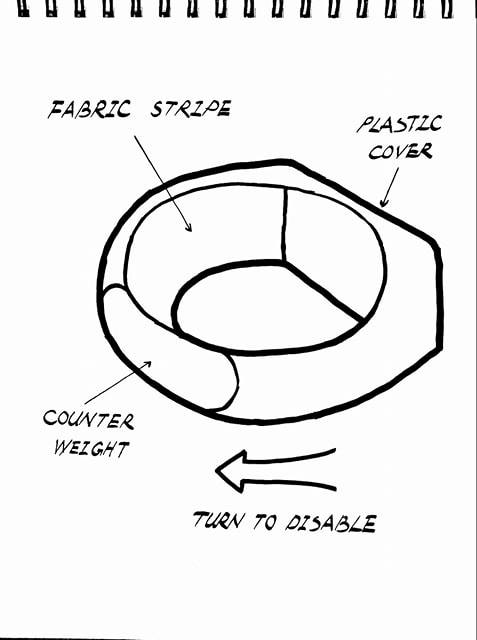
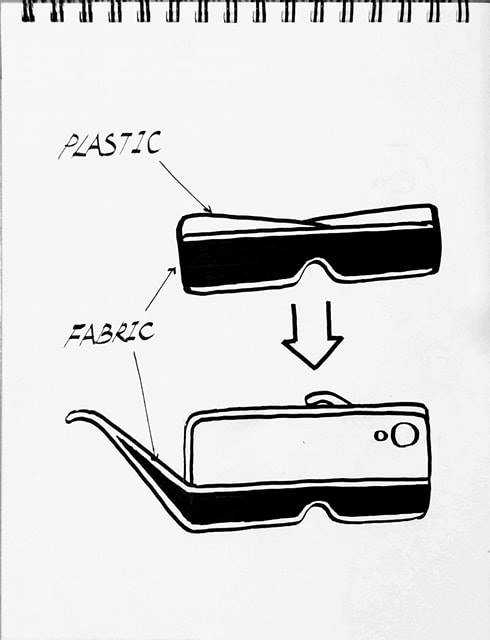
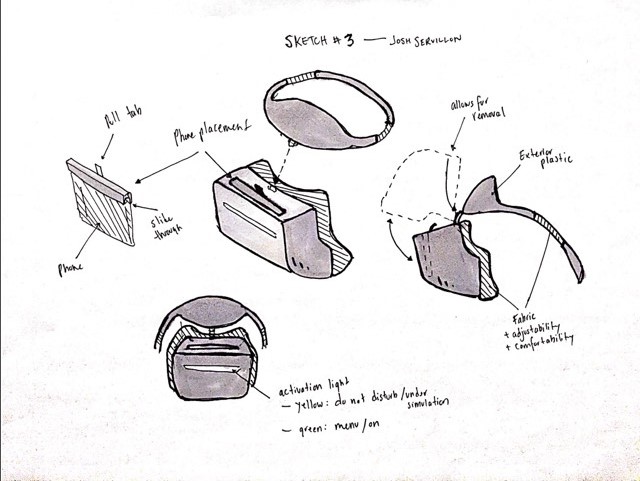
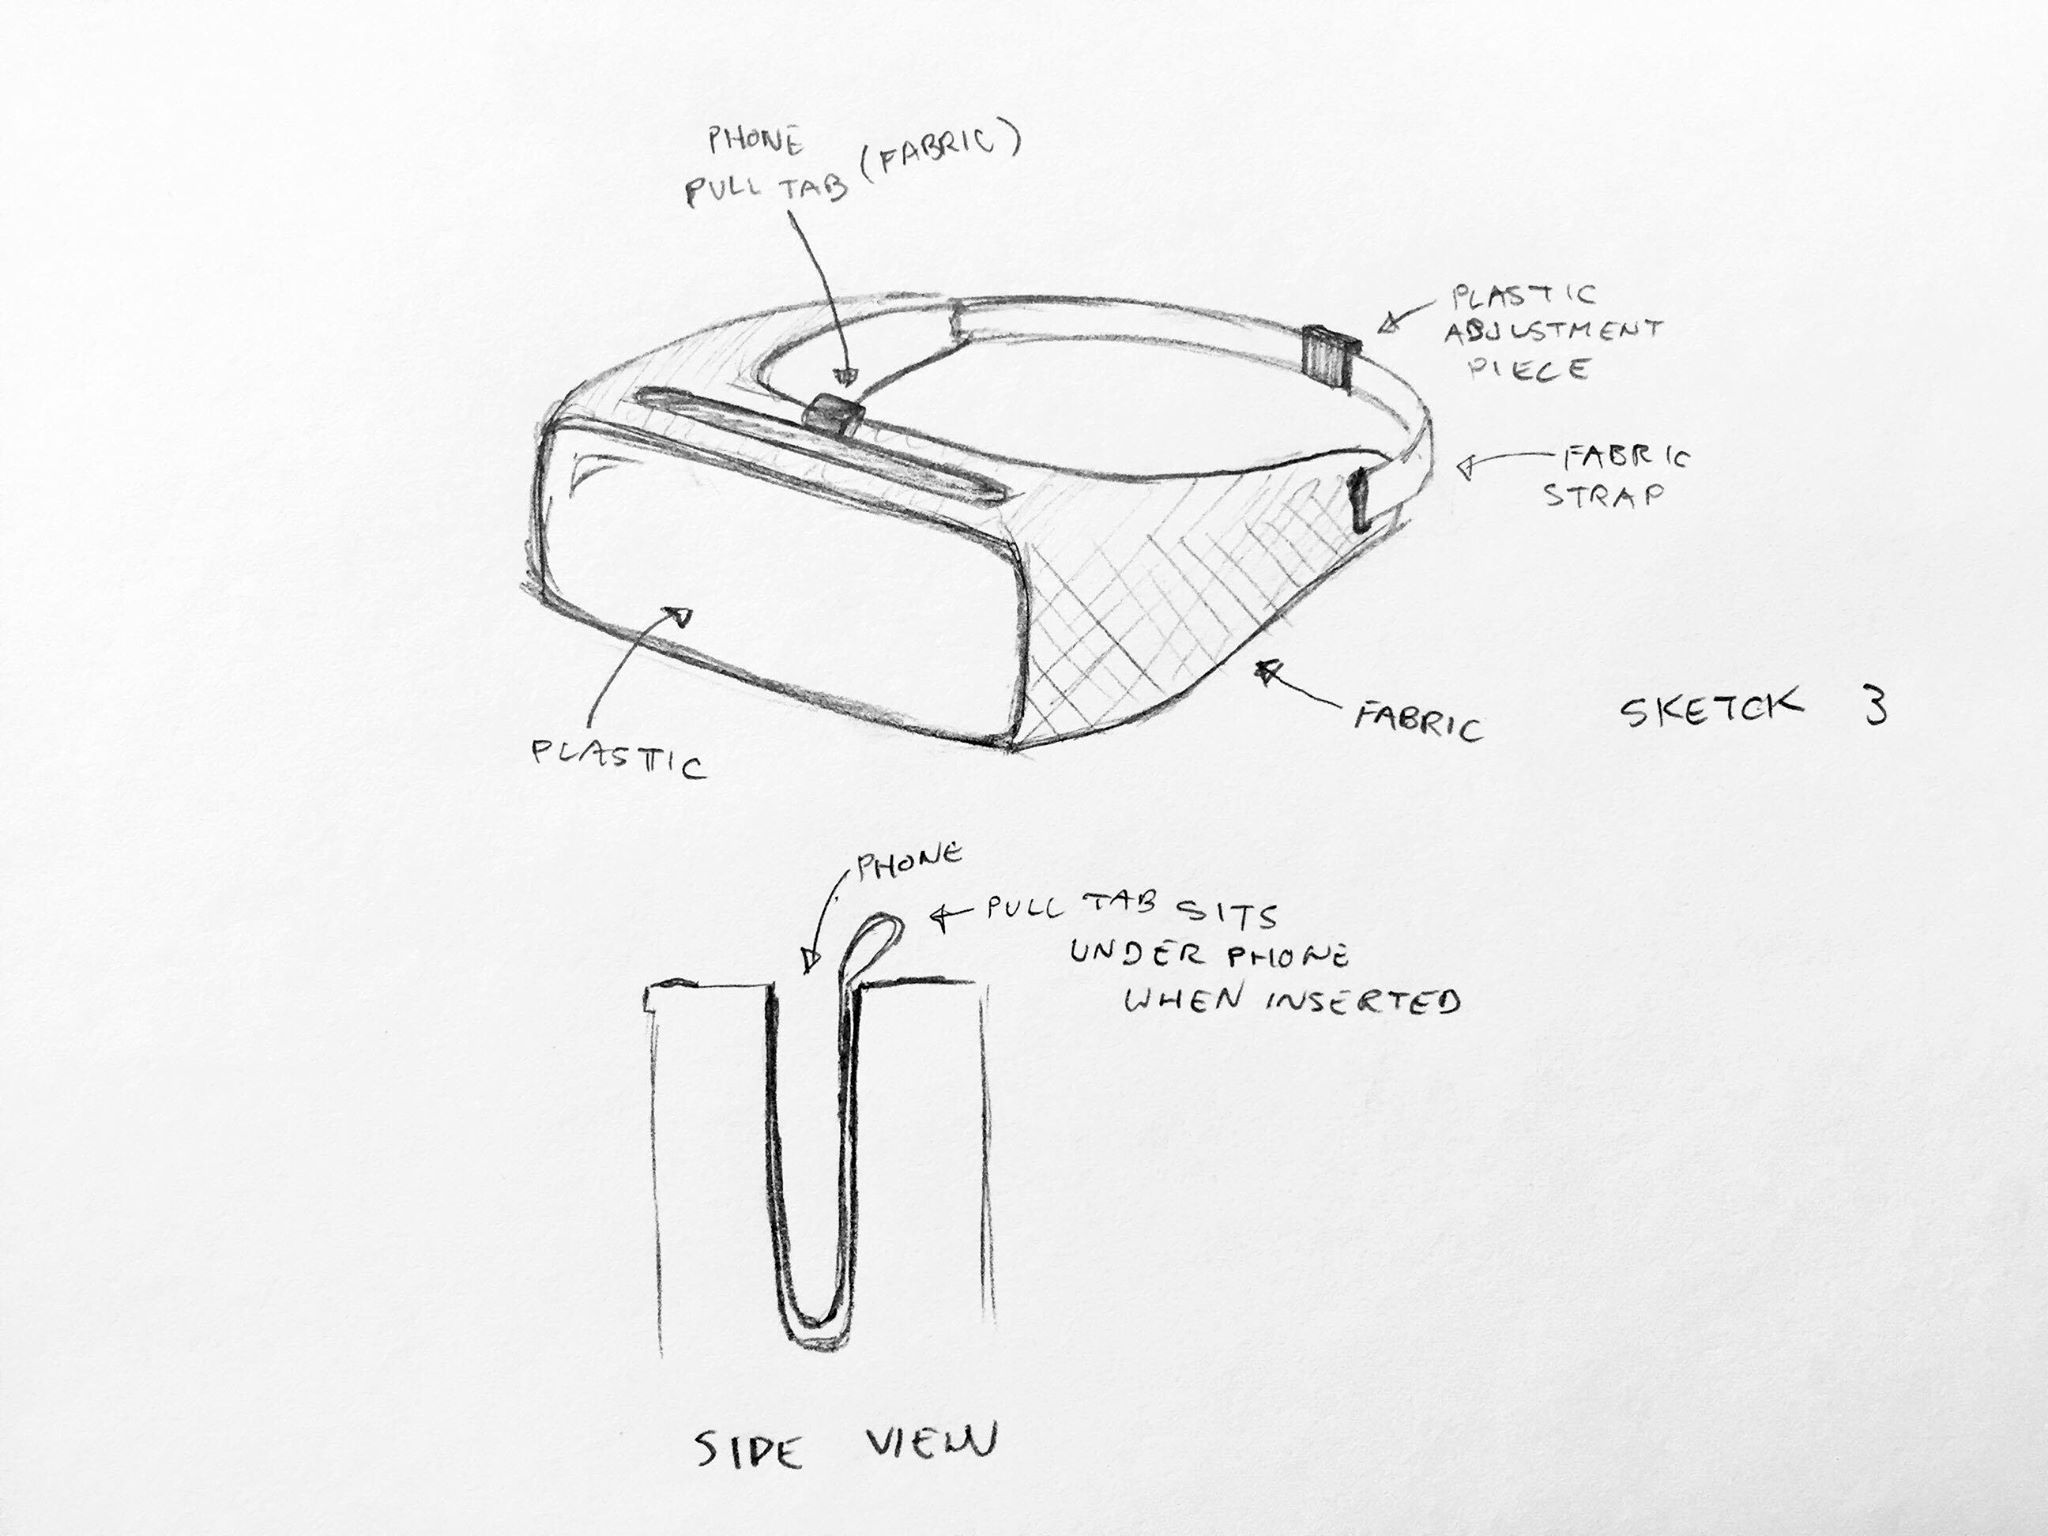
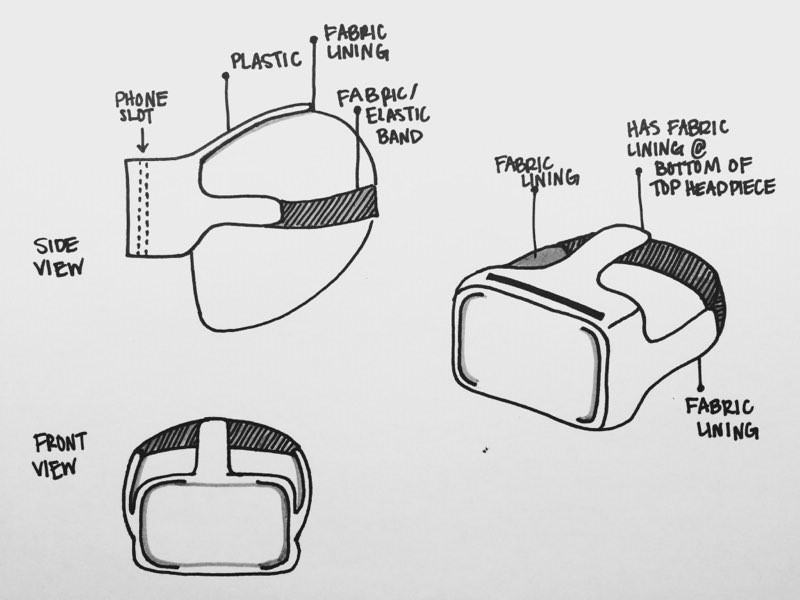
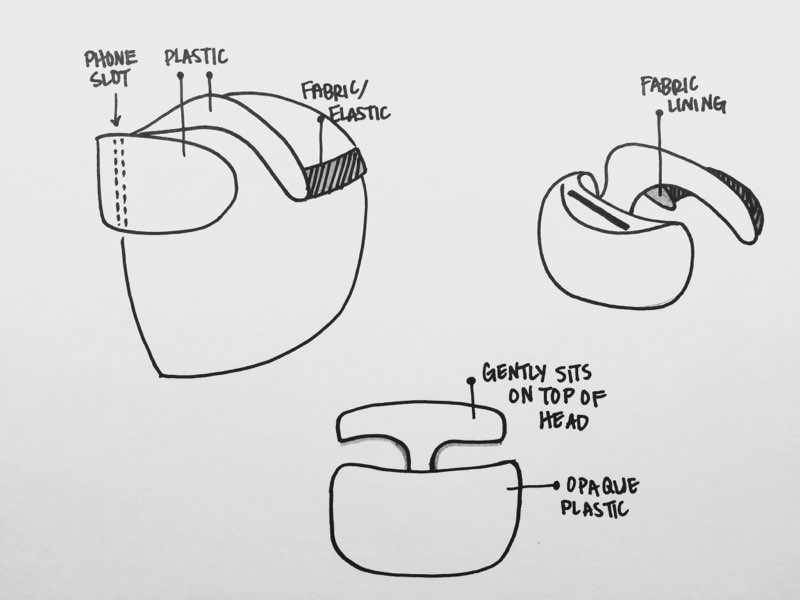
More sketches from the brainstorming.More sketches from the brainstorming.More sketches from the brainstorming.More sketches from the brainstorming.More sketches from the brainstorming.More sketches from the brainstorming.More sketches from the brainstorming.More sketches from the brainstorming.More sketches from the brainstorming.More sketches from the brainstorming.More sketches from the brainstorming.More sketches from the brainstorming.


:no_upscale()/cdn.vox-cdn.com/uploads/chorus_image/image/53238945/vacuform.0.gif)